Deploying Tensorflow Model on a Microcontroller
A Guide to Deploying TensorFlow Models on Microcontrollers


Introduction
Deploying machine learning and deep learning models offers numerous methods. One of the most popular approaches is Server-Based Deployment, achieved through Web APIs or cloud-based services such as AWS Lambda, Google Cloud Functions, or Microsoft Azure Functions. However, in this article, our focus will be on deploying at the edge, particularly on small, low-powered devices like microcontroller units (MCUs). This type of Edge ML is known as TinyML.
"Why would I want to deploy a model on the edge?" One might ask. Well, this form of deployment comes with several advantages, including:
- Reduced Latency: Edge AI applications minimize data transfers over networks by processing data close to sources, leading to faster processing, reduced latency, and critical improvements for low-latency tasks.
- Real-Time Performance: The reduced latency in Edge AI applications enables real-time functionalities, crucial for tasks like instant event detection that cannot afford delays from data transfer and processing between the edge and the cloud.
- Improved Privacy Control: Edge AI applications enhance privacy by limiting data transfer, providing robust control over sensitive information like security, intellectual property, and personal data, fostering secure data management.
- Power Efficiency: Edge AI optimizes energy usage by minimizing cloud data transfers and processing, countering the carbon emissions linked to cloud I/O functions. Unlike GPU and TPU-heavy cloud AI, Edge AI processes data locally, reducing I/O operations and enhancing environmental sustainability.
- Cost-Effectiveness: Edge AI uses less data, computing resources, and energy compared to cloud computing, resulting in cost-effective deployment and operation.
Let's delve into the intricacies of this edge deployment. 🤖
Tools
Here are some of the tools that we shall use for this article:
Software
| Tool | Use |
| Google Colab | For Model Training |
| TensorFlow | Machine Learning Framework |
xxd Tool | To Create the Model's C File |
| Arduino IDE | For Final Model Deployment to the MCU |
Hardware
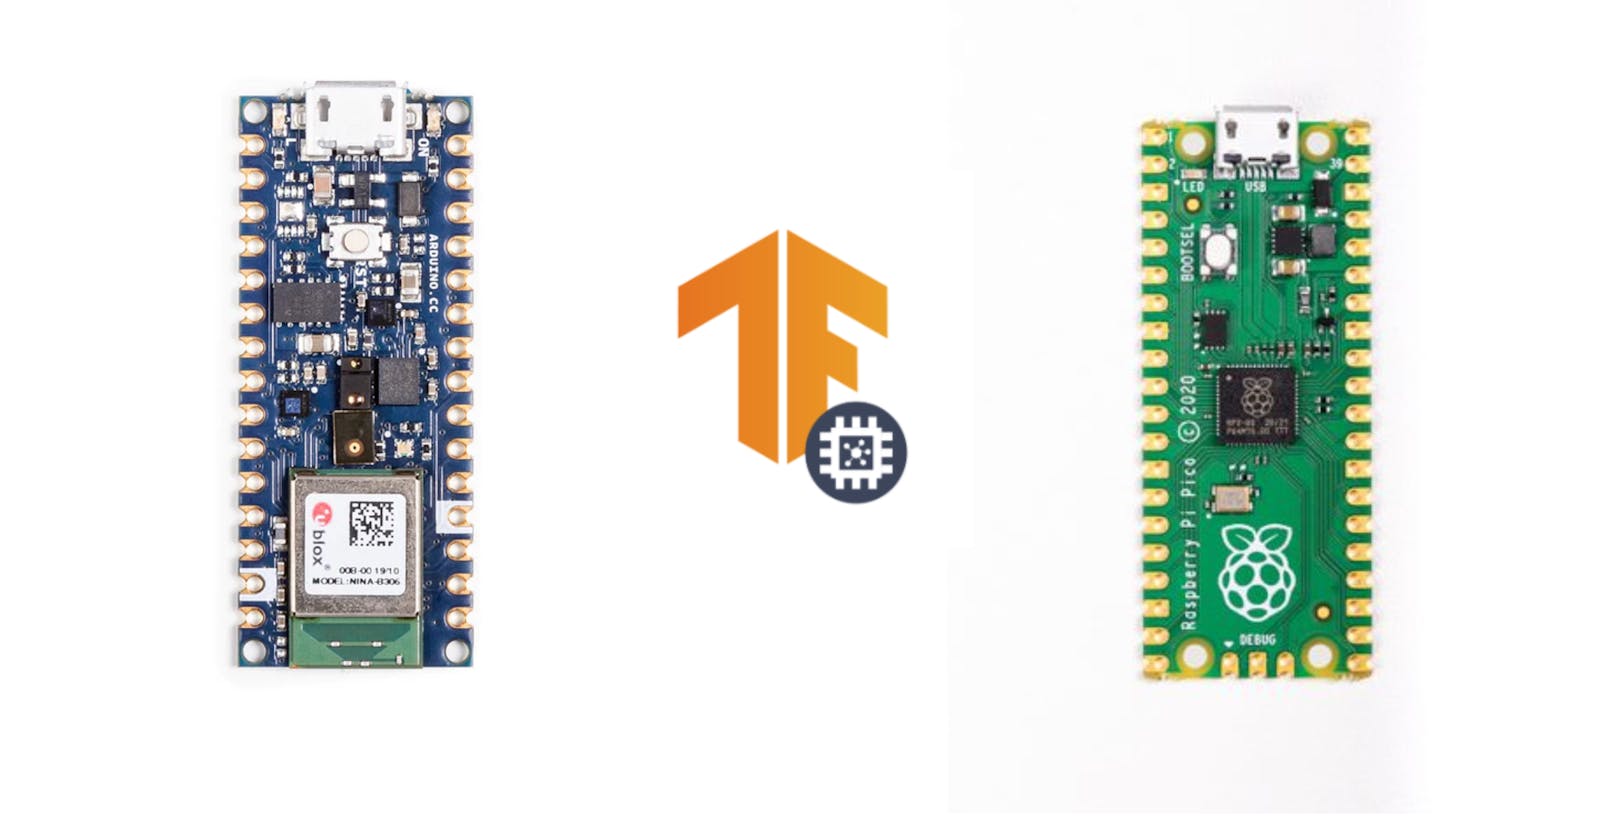
For hardware, you can have any of the following Microcontrollers:
MCUs for this
- Arduino Nano 33 BLE Sense
- ESP32 (any brand)
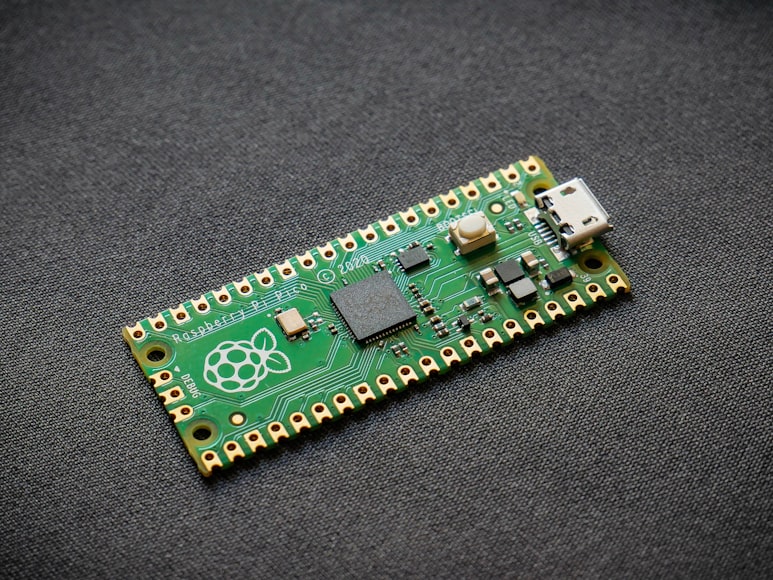
- Raspberry Pi Pico
- Raspberry Pi Pico W
- Arduino Nano RP2040
Model Training And Conversion
Now we shall get into making the model. For those who might not be familiar with the process, Creating a machine learning model involves gathering data, preparing it, choosing an algorithm, and training the model to make predictions. This process helps computers learn patterns from data and make informed decisions.
Here is the link to the Colab to follow along.
Training
Dataset
In this section, we'll create a classification model using the Iris dataset. If you've explored the field of Machine Learning or Data Science, chances are you've encountered the Iris dataset – often referred to as the equivalent of a "Hello, World!" code in the realm of Machine Learning.
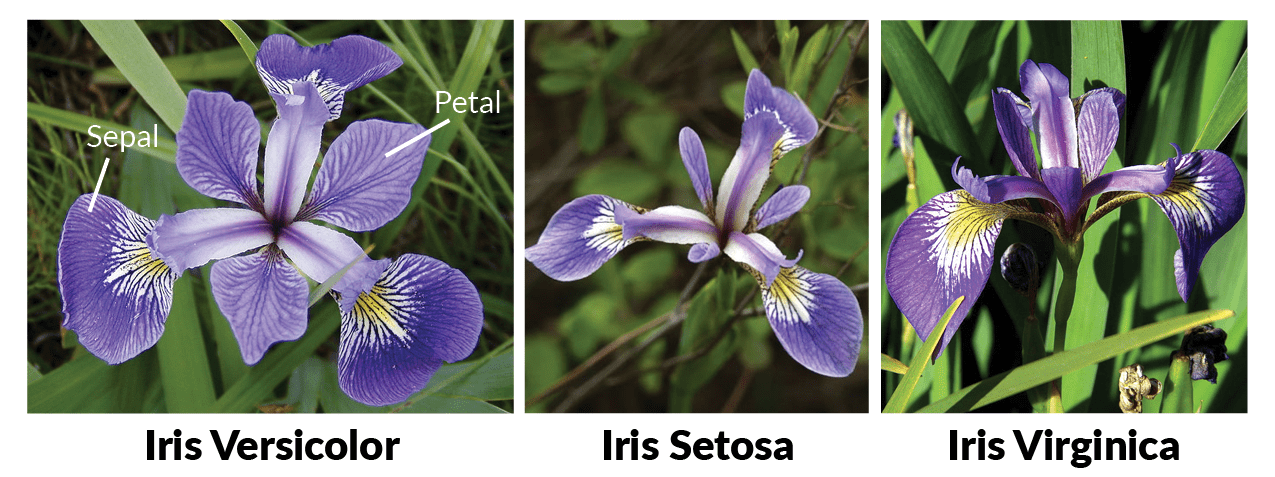
The Iris dataset , a small classic dataset introduced by Fisher in 1936, holds historical significance as one of the earliest datasets used for evaluating classification methodologies. Originally published at the UCI Machine Learning Repository, the Iris dataset remains a staple for testing machine learning algorithms and creating visualizations, such as Scatter Plots.
Each row of the dataset represents an iris flower, along with its species and measurements of its botanical components – sepal and petal – in centimeters.
| index | Id | SepalLengthCm | SepalWidthCm | PetalLengthCm | PetalWidthCm | Species |
| 0 | 1 | 5.1 | 3.5 | 1.4 | 0.2 | Iris-setosa |
| 1 | 2 | 4.9 | 3.0 | 1.4 | 0.2 | Iris-setosa |
| 2 | 3 | 4.7 | 3.2 | 1.3 | 0.2 | Iris-setosa |
| 3 | 4 | 4.6 | 3.1 | 1.5 | 0.2 | Iris-setosa |
| 4 | 5 | 5.0 | 3.6 | 1.4 | 0.2 | Iris-setosa |
| --- | --- | --- | --- | --- | --- | --- |
| 145 | 146 | 6.7 | 3.0 | 5.2 | 2.3 | Iris-virginica |
| 146 | 147 | 6.3 | 2.5 | 5.0 | 1.9 | Iris-virginica |
| 147 | 148 | 6.5 | 3.0 | 5.2 | 2.0 | Iris-virginica |
| 148 | 149 | 6.2 | 3.4 | 5.4 | 2.3 | Iris-virginica |
| 149 | 150 | 5.9 | 3.0 | 5.1 | 1.8 | Iris-virginica |
For our classification task with the Iris dataset, we will build a neural network using TensorFlow. This neural network will be designed to classify iris flowers into their respective species based on the dimensions of their sepal and petal.
Model
Lets dive into the Model , I won't share much on Data preparation
First we have to import the relevant TensorFlow libraries
# Tensorflow libraries
import tensorflow as tf
from tensorflow import keras
from tensorflow.keras.models import Sequential
Model Architecture
def get_model():
    # Create a Sequential model
    model = Sequential([
        # Input layer with the same shape as the training data
        keras.layers.Input(shape=X_train.shape[1:]),
        # First hidden layer with 100 neurons and ReLU activation
        keras.layers.Dense(100, activation='relu'),
        # Second hidden layer with 50 neurons and ReLU activation
        keras.layers.Dense(50, activation='relu'),
        # Third hidden layer with 30 neurons and ReLU activation
        keras.layers.Dense(30, activation='relu'),
        # Dropout layer to prevent overfitting (20% dropout rate)
        keras.layers.Dropout(0.2),
        # Output layer with 3 neurons (for 3 classes) and softmax activation
        keras.layers.Dense(3, activation='softmax')
    ])
    # Return the constructed model
    return model
The get_model() function creates a neural network model for classification using the Keras library. It has an input layer(keras.layers.Input()) that matches the shape of the training data . Then, it adds several dense layers with relu activation functions. These layers help the model learn patterns in the data. A dropout layer is included to prevent overfitting. The final layer has softmax activation and is designed for classifying among three classes. This architecture is designed for the Iris dataset's classification task.
Compile the model
model = get_model()

# Compile the model
model.compile(optimizer='adam', loss='sparse_categorical_crossentropy', metrics=['accuracy'])
model.compile(...) step configures the model for learning on the Iris data. The adam optimizer refines model parameters, sparse_categorical_crossentropy measures prediction accuracy, and accuracy is tracked during training. This process prepares the model to learn from the Iris dataset, making accurate predictions about iris flower species.
Train the Model
#Train the model
history = model.fit(X_train, y_train, batch_size=50,epochs=100, validation_data=(X_test, y_test), verbose=1)
We pass the Training data through the previously defined model.
Test the model
model.evaluate(X_test, y_test)
Now we test the accuracy of the model using Test data , which had an average accuracy of 95% per species, which is pretty Good for this Demo.
Model Conversion
TensorFlow Lite (TFLite)
Allow me to introduce you to TensorFlow Lite (TFLite). TFLite is a specialized version of the TensorFlow machine learning framework designed for deploying machine learning models on resource-constrained devices, such as microcontrollers and mobile devices. It's a compact and optimized runtime that enables you to run machine learning models with lower memory and computational requirements, making it suitable for edge computing scenarios.
We now need to convert the model to the TFLite format.
# Create a TFLiteConverter object and initialize it with your Keras model
converter = tf.lite.TFLiteConverter.from_keras_model(model)
# Convert the Keras model to the TFLite format
tflite_model = converter.convert()
# Save the converted TFLite model to a file
with open("tflite_model.tflite", "wb") as f:
    f.write(tflite_model)
Here are some reasons why this is essential to Edge Deployment:
Reduced Memory Footprint : TFLite models are optimized for mobile and embedded devices, resulting in a smaller memory footprint compared to regular deep learning models. This is crucial for devices with limited memory resources.
Faster Inference : TFLite models are designed to execute efficiently on edge devices, leading to faster inference times. This is essential for real-time applications where low latency is required.
Compatibility: TFLite models are compatible with a wide range of devices and platforms, making it easier to deploy models across different hardware and software environments.
Hardware Acceleration: TFLite supports hardware acceleration through specialized libraries and APIs, which can significantly speed up inference on supported hardware.
Power Efficiency: TFLite models are optimized for energy efficiency, making them suitable for battery-powered devices where energy consumption is a concern.
NOTE : Since this is a simple model, the conversion process appears straightforward. However, one can do more when using TFLite, from model optimization to model quantization depending with the complexity of your Model.
Converting to a C File
The final step in preparing our model is to convert it into a C header file. This involves using the xxd Unix tool, which transforms the model into an array of bytes stored within the header file. This allows for direct loading of the model into the microcontroller's memory.
To accomplish this, use the following code snippet:
!echo "const unsigned char model[] = {" > /content/iris_model.h
!cat /content/tflite_model.tflite | xxd -i >> /content/iris_model.h  # Create a hexadecimal array with the model's parameters
!echo "};" >> /content/iris_model.h

files.download("/content/iris_model.h")  # Automatically download the header file
Upon executing this code, the resulting header file will be saved and automatically downloaded as iris_model.h. This file will contain the model in a format suitable for loading onto your microcontroller.
Deployment
Arduino IDE Setup
To get started, you'll need to download and install the Arduino IDE. If you're not familiar with the process, follow this guide to download and install the Arduino IDE on your computer.
Once you have the Arduino IDE installed, open it and create a new file. Clear the content in the new file and paste the following code:
Arduino Code
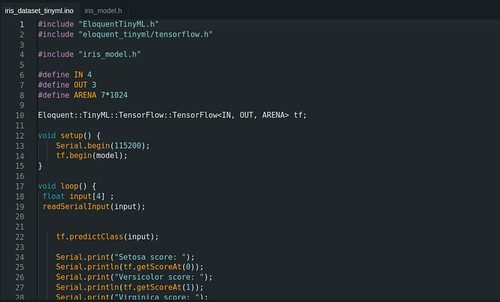
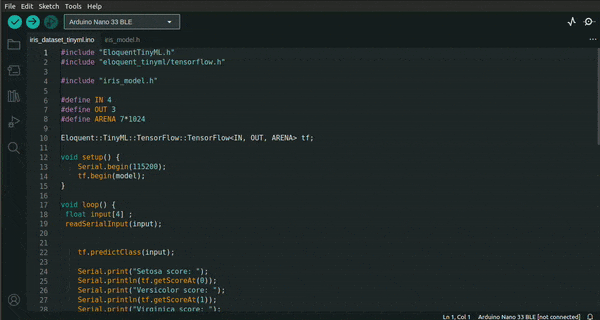
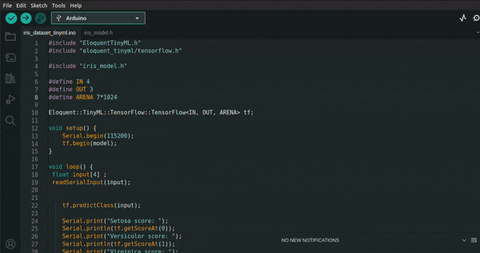
#include "EloquentTinyML.h"
#include "eloquent_tinyml/tensorflow.h"

#include "iris_model.h"

#define IN 4
#define OUT 3
#define ARENA 7*1024

Eloquent::TinyML::TensorFlow::TensorFlow tf;

void setup() {
    Serial.begin(115200);
    tf.begin(model);
}

void loop() {
    float input[4];
    readSerialInput(input);

    tf.predictClass(input);

    Serial.print("Setosa score: ");
    Serial.println(tf.getScoreAt(0));
    Serial.print("Versicolor score: ");
    Serial.println(tf.getScoreAt(1));
    Serial.print("Virginica score: ");
    Serial.println(tf.getScoreAt(2));
    delay(1000);
}

void readSerialInput(float inputArray[]) {
    // Wait for input from the serial monitor
    while (!Serial.available()) {
        // Wait until data is available
    }

    // Read input values from the serial monitor
    String inputString = Serial.readStringUntil('\n');  // Read the input string
    inputString.trim();  // Remove leading/trailing whitespaces
    String inputValues[4];  // Array to store input values as strings
    int index = 0;  // Index for input values array

    // Extract individual values from the input string
    int startIndex = 0;
    int endIndex = inputString.indexOf(',');
    while (endIndex >= 0 && index < 4) {
        inputValues[index] = inputString.substring(startIndex, endIndex);
        startIndex = endIndex + 1;
        endIndex = inputString.indexOf(',', startIndex);
        index++;
    }
    // Extract the last value from the input string
    if (index < 4) {
        inputValues[index] = inputString.substring(startIndex);
        index++;
    }

    // Check if the input values are valid
    if (index == 4) {
        // Convert input values to floats and store them in the input array
        for (int i = 0; i < 4; ++i) {
            inputArray[i] = inputValues[i].toFloat();
        }
    } else {
        Serial.println("Invalid input format!");
    }

    // Clear the serial monitor
    while (Serial.available()) {
        Serial.read();
    }
}
Now, save the file and go to its folder. Take the iris_model.h file and paste it into the folder. This step is essential for the code to work. If you encounter any difficulties with the Arduino IDE, you can refer to this guide. Once you've completed these steps, you should see both files when you return to the Arduino IDE.
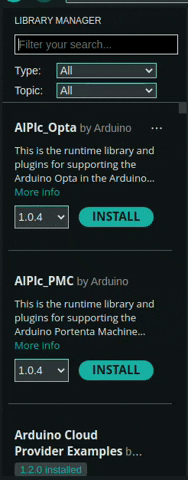
Installing Eloquent TinyML Library
To upload our model to the MCU, we will need the assistance of an Arduino library called Eloquent TinyML.
Step 1: Open Library Manager
Step 2: Search for EloquentTinyML in the Library Manager and Click Install
Deployment Code Breakdown
With the Arduino IDE set up, let's dive into the breakdown of the deployment code.
Header Files
#include "EloquentTinyML.h"
#include "eloquent_tinyml/tensorflow.h"

#include "iris_model.h" // Include the model
These lines add the required EloquentTinyML files and the model to your project.
Macros Definition and TensorFlow Initialization
#define IN 4
#define OUT 3
#define ARENA 7*1024

Eloquent::TinyML::TensorFlow::TensorFlow<IN, OUT, ARENA> tf;
The macros IN and OUT specify the input size and output size. For example, if our model takes 4 measurements and outputs scores for 3 Iris species, these macros are set accordingly. ARENA specifies memory allocation for TensorFlow Lite. The final line creates an instance of the TensorFlow Lite neural network class.
Setup Function
void setup() {


 Serial.begin(115200);
    tf.begin(model);
}
The setup function initializes serial communication and starts the TensorFlow Lite runtime with the loaded model.
Input Processing Function
void readSerialInput(float inputArray[]) {}
The readSerialInput function reads input values from the serial monitor and stores them in an array.
Loop Function - Prediction and Output
void loop() {
    float input[4];
    readSerialInput(input);

    tf.predictClass(input);

    Serial.print("Setosa score: ");
    Serial.println(tf.getScoreAt(0));
    Serial.print("Versicolor score: ");
    Serial.println(tf.getScoreAt(1));
    Serial.print("Virginica score: ");
    Serial.println(tf.getScoreAt(2));
    delay(1000);
}
In the loop, values from the serial monitor are passed to the model. The model predicts the class, and the scores for each species of the Iris flower are printed to the serial monitor at intervals.
Uploading the Model
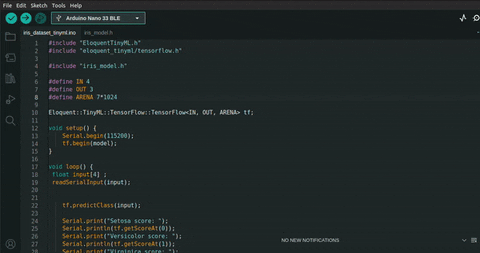
Now, let's upload the model to the MCU. I'll be using the Arduino Nano 33 BLE for this example, but you can use any of the hardware options I recommended earlier.
Step 1: Connect Your MCU to Your Computer
Connect your MCU (in my case, the Arduino Nano 33 BLE) to your computer using a USB cable.
Step 2: Select the Correct Board
In the Arduino IDE, navigate to "Tools" > "Board" and select your MCU's name. For example, choose "Arduino Nano 33 BLE."
Step 3: Choose the Correct Port
Under "Tools," go to "Port" and select the appropriate COM port for your MCU.

Step 4: Upload the Code
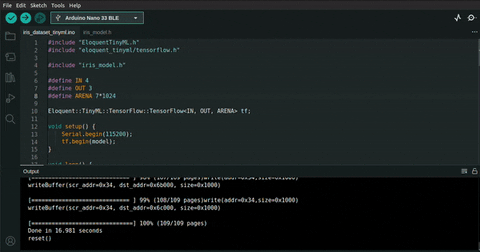
Click on the right-pointing arrow icon (Upload) located in the top-left corner of the Arduino IDE. This action will compile your code and upload it to the MCU. Wait until the code has been successfully uploaded before proceeding.
Model Inference
Now, let's put the model in the MCU to the test by providing it with some inputs and observing the results. We will pass inputs through the serial monitor.
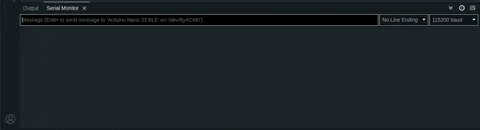
Open the Serial Monitor
Click on the magnifying glass icon in the top-right corner of the Arduino IDE to open the Serial Monitor. Make sure the baud rate is set to 115200.
Enter Inputs and Observe Outputs
In the Serial Monitor, you can enter Sepal Length, Sepal Width, Petal Length, and Petal Width as input. The model will provide the classification scores for each species.
Let's test with this input. Copy and paste it into the Serial Monitor and press Enter:
5.4,3.9,1.3,0.4
Feel free to experiment with different values from the Iris dataset and observe the results. 🤖
Conclusion
This was a simple way of Deploying a Tensorflow Model to an MCU , this application might not be practical for a real world application but works well for a DEMO .
The practical application could be when we have the Inputs comming from a sensor or a camera and the outputs being used to control an actuator, Boom!! we have an AI enabled Iris flower harvester. (This is very possible)
The applications of Edge AI simply open doors to countless possibilities in the world of IoT and edge computing. This can range from Agriculture ,Healthcare and Industrial applications.
Here are some content to help you learn More on this :
- 2023 EDGE AI TECHNOLOGY REPORT
- Data camp Machine learning courses
- TinyML courses
- Github repo with all the code for this article.
I hope you have enjoyed reading this as I enjoyed making it .
This article was written by Ryan kiprotich.Special Thanks to TinyML kenya for providing the hardware for this article.